My husband and I, on many occasions, have shaken our heads at the “curry” powder they sell at stores. Curry isn’t something that is premixed in a bottle. The beauty of “curry” is that it is customized. It becomes a family legacy. You learn the way your mom makes her curry and try to replicate it and 9 times out of 10 it’s different. That’s because it becomes YOUR curry. Then over the years you perfect your curry, learning from errors to create the perfect curry that your kids come home from college for. And the cycle repeats.
My family was mostly vegetarian, we ate chicken on occasion and by occasion I mean it had to be Christmas, or someone important was coming over. When I got to college, I ate a bit more meat and diversified a little, but I hadn’t really gotten into seafood or anything besides chicken and beef. Still it was American style and mostly bland. I ran home to my mom’s food almost every weekend.
When I met Jayesh, I realized just how much I hadn’t experienced food and it’s complexities. He introduced me to flavors that blew my mind. We both really enjoy eating and cooking, most of all cooking together. Together we have perfected our curry and much like a relationship, it took time, it took work, but we got it right.
On our first date Jayesh cooked for me his famous steak and I was thrilled that his steak recipe would be in my life forever. Sounds silly doesn’t it? Probably because you haven’t tried it. Together we explored the Indian spices, we experimented and tried different things, we had many victories in the kitchen. It’s a delicious love story…we fell in love over curry.
Here is how I make a basic authentic Indian curry. You can add any meat to this and it will alter the flavor slightly with the flavor of the meat. But these are the steps you use before you make any curry dish.
There are no measurements because that’s not how Indians do it. It’s always ‘a little of this’ or ‘a palm full of that’ or better yet ‘just wait for the color to change’. It’s fun.
Here what you will need:
Fresh Ingredients:
Onion – this will make up the bulk of the gravy so do as little or lot as you want.
Tomato – I usually use a can of Hot Rotel, but fresh tomatoes are just fine.
Jalapeno – how hot do you want it? I usually use one whole one, but if you don’t want it too spicy use a half.
Ginger – Use equal amounts as garlic
Garlic – I like a lot of garlic, it tastes good, smells good, and it’s great for you. So probably 3-4 big cloves.
“Curry leaves” aka sweet neem leaves aka ‘limbdo’- one full “branch”. About 20 leaves, 10 if they’re really aromatic. These are optional.
Tomato Paste – for thickness and a bit of tart flavor
Dry Ingredients:
Cumin-Coriander powder
Red Chili Powder
Turmeric
Salt – to taste
Peppercorns – 6-7 for a nice kick
Dried Red Chili – one or two depending on how much heat you want.
Mustard seeds – black ones just a couple of pinches.
Cumin Seeds aka ‘jeeru’ – 4-5 pinches
Cinnamon stick – one broken up
Before I get into this recipe, I made this to slow cook chicken. So it’s concentrated curry. I’ll let you know through out the recipe what changes I made. If you’re slow cooking meat like beef, lamb, goat, chicken, do what I did so that there is enough flavor to get into the meat and enough flavor after the meat releases water. Here we go!
Start prepping by chopping up all the fresh ingredients. I like to make things easier so I use a vidalia chopper but you could course chop the onions in a food processor. They just need to be diced up. I use my magic bullet and make a paste out of the ginger, garlic, and jalapeno. If you’re using fresh tomatoes you can throw those into that ginger garlic paste as well. I like the tomato chunks from the rotel so I just pour the can in to the pan, liquid and all.
Heat up some oil and add in cumin seeds, peppercorn, mustard seeds, cinnamon, dried red chilis, and curry leaves. Add the curry leaves after the other ingredients are mostly fried up. The leaves fry faster and will start to burn.

The mustard seeds will start to pop so be careful. Once that’s happening add in the onions. Stir the onions frequently, and cook until they are translucent.

Once the onions are translucent, add in the ginger garlic jalapeno paste and stir. Let it cook for just a minute or two.

Add in the tomatoes if you’re using canned tomatoes.
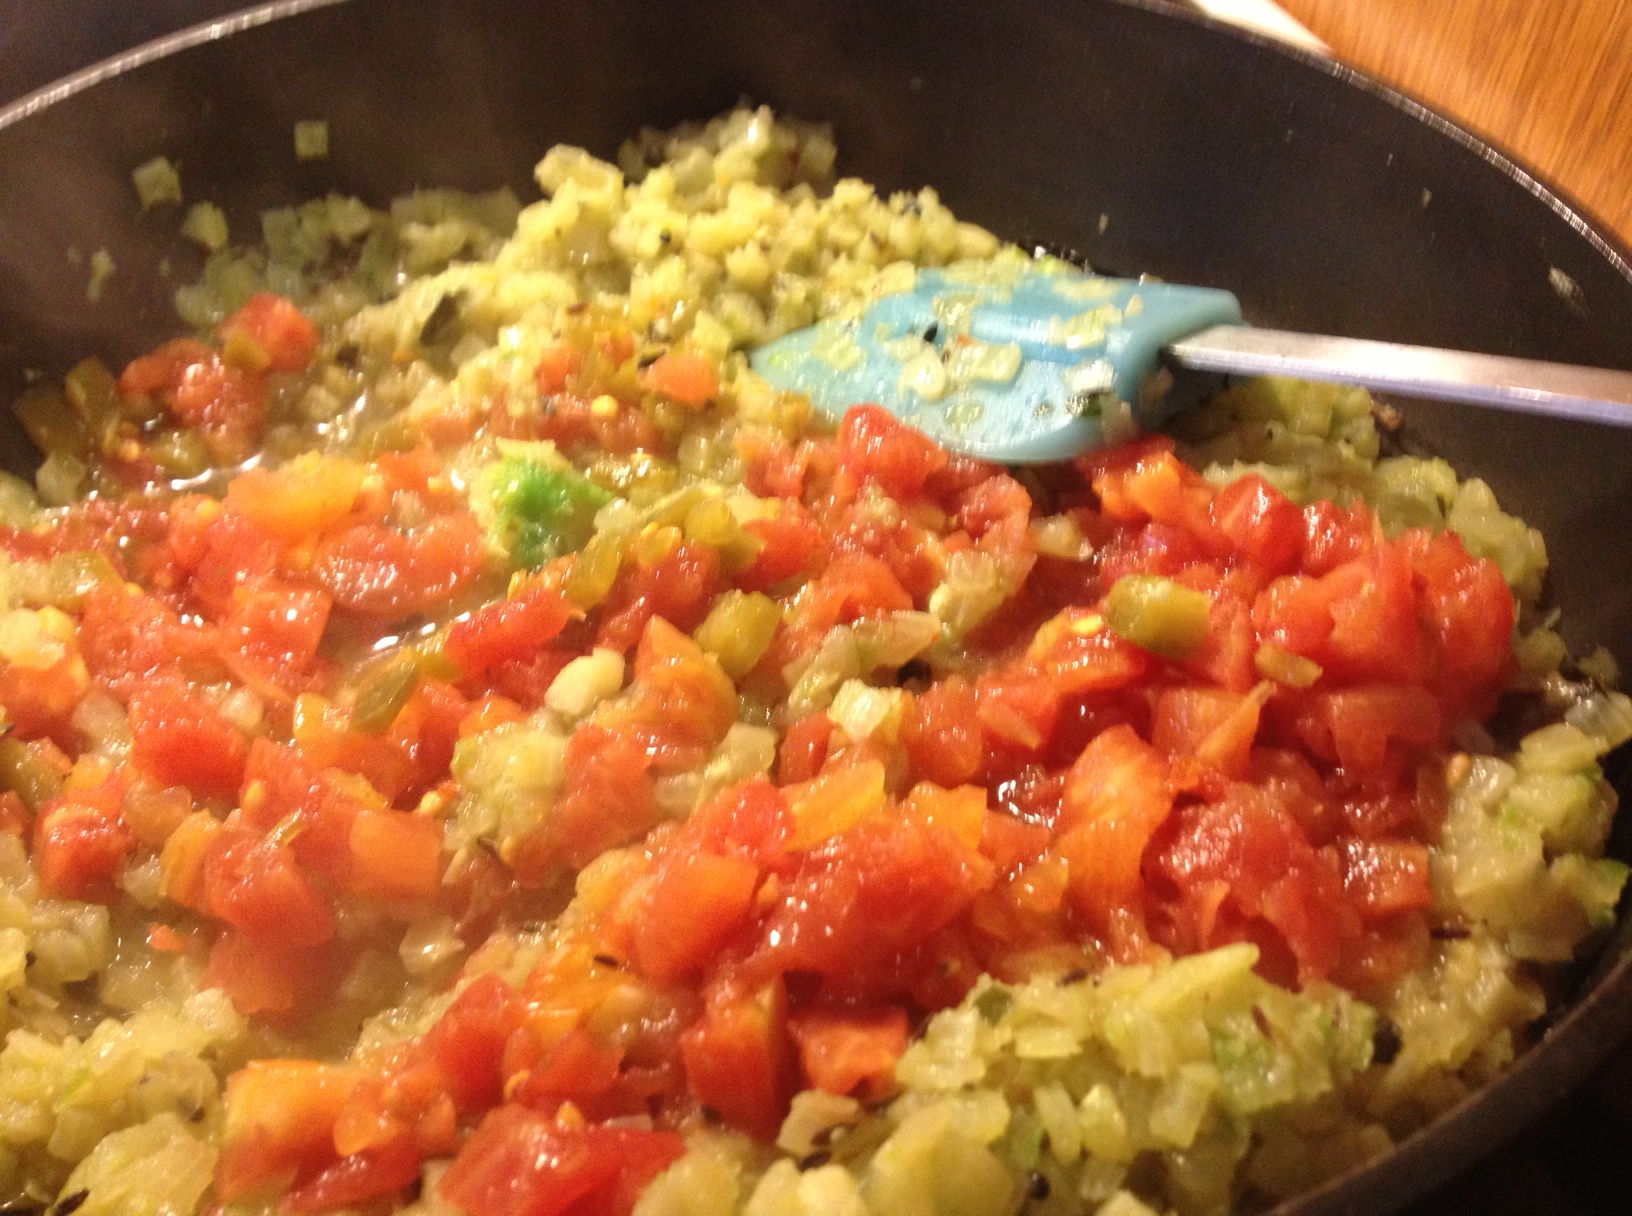
Stir and cook for just a minute or two. Then start to add in your dry spices. The trifecta goes in first. I do about equal amounts of red, yellow, and brown. With perhaps a little less of the yellow because it can add too much bitter. The idea is to round out the flavor so you don’t taste too much of anything. I added heaping spoons to this. HEAPING.

Cumin Coriander Powder
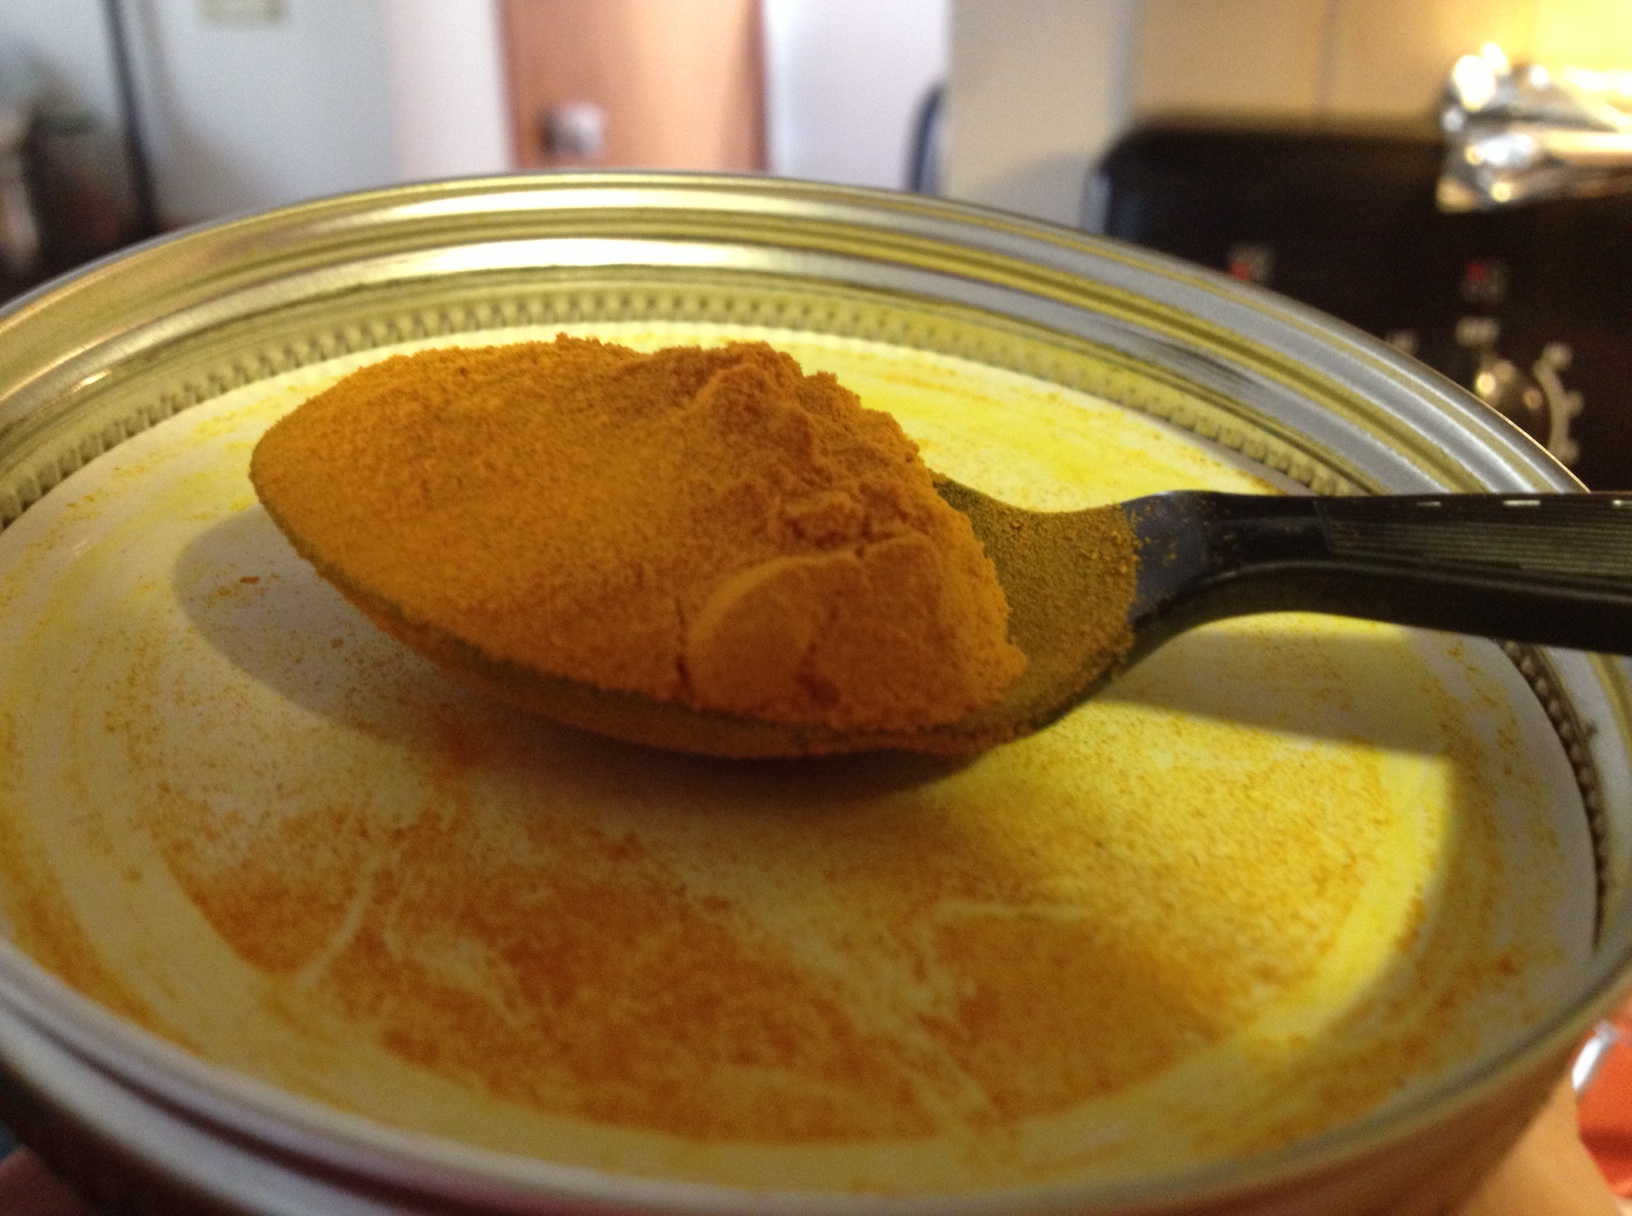
Turmeric Powder

Red Chili Powder
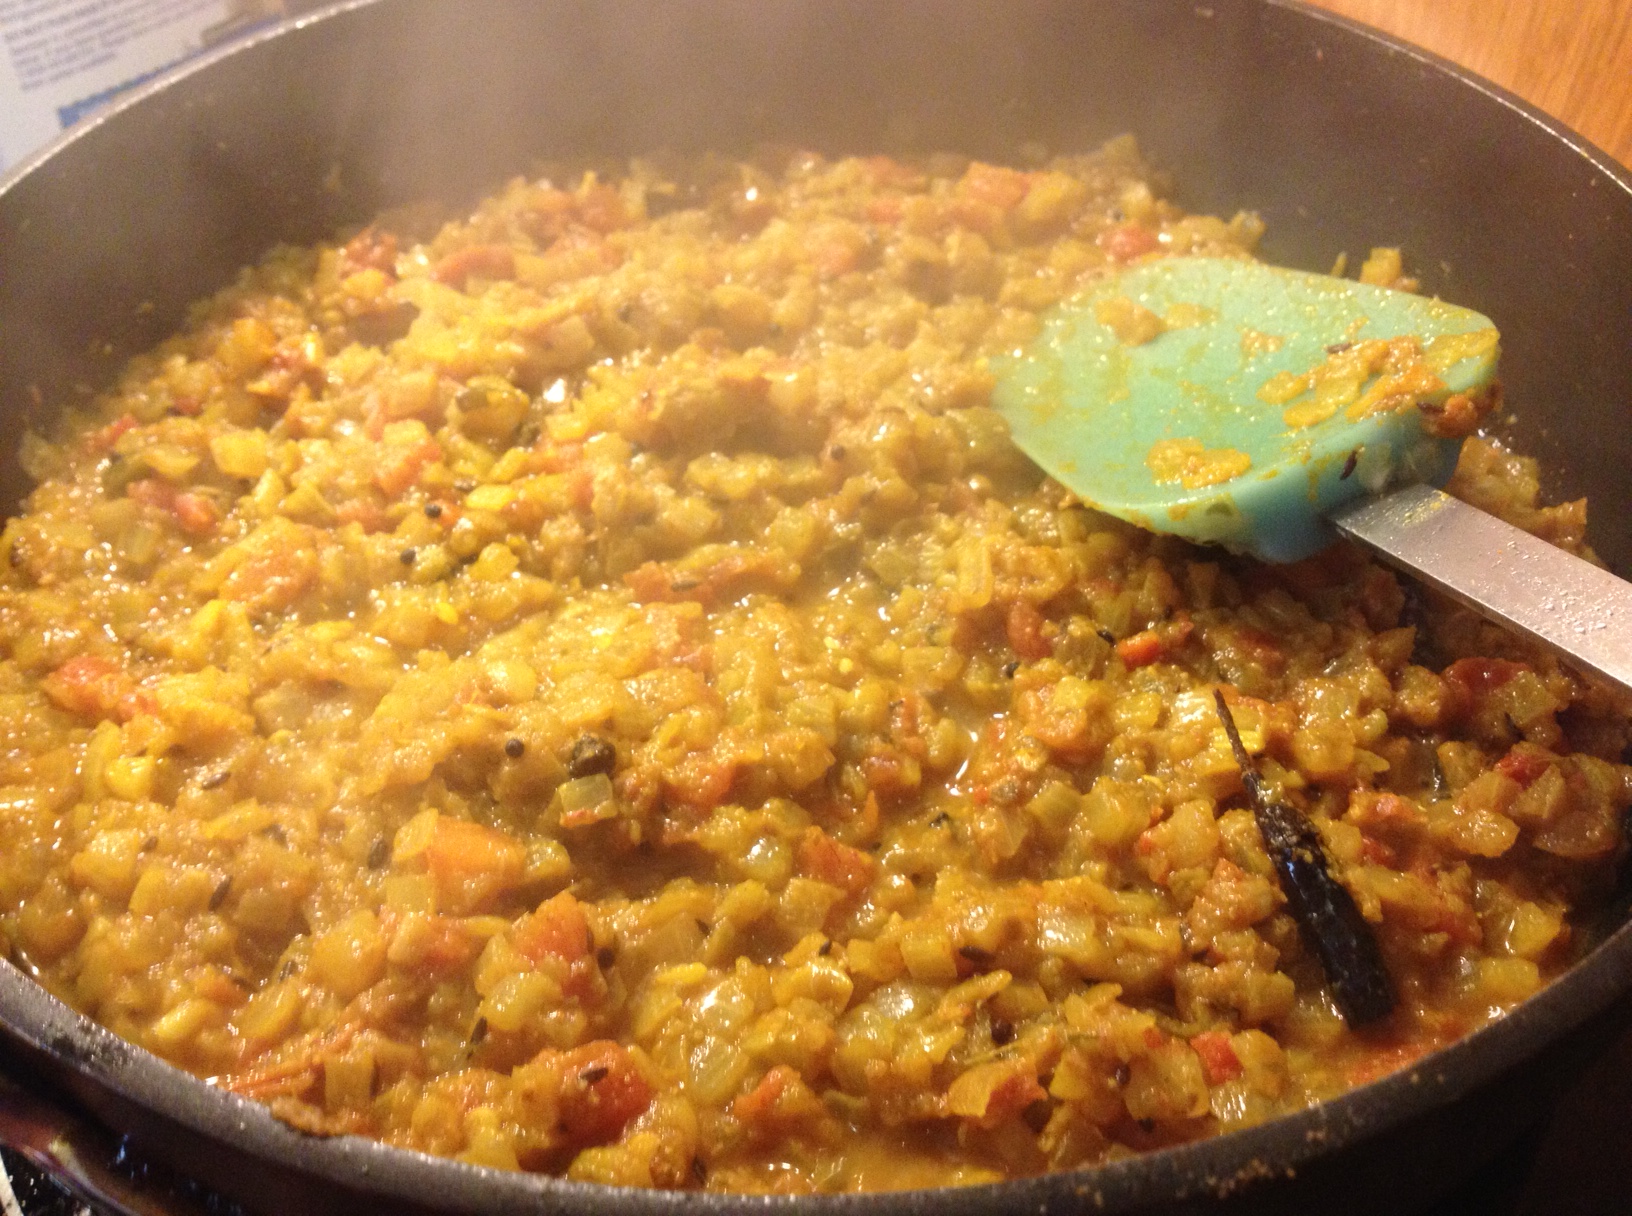
I did about two-ish spoons. The color should turn a golden rust color. Add in some salt to taste. At this point you can add Garam Masala if you want and also ground pepper adds a nice heat. The thing with adding flavors…you want to build. I build layers of heat. So I season the oil, sauté jalapeno, add chili powder, and that creates a different kind of spicy than if you just add chili powder at the end. Its tasty and tolerable.
At this point you might notice the curry looks a bit dry.

I add in Swanson’s chicken broth. You could use vegetable broth if you’re vegetarian. It’s better than water which will completely dilute your flavor. I use the low sodium broth so it doesn’t throw off my salt proportions. If you’re slow cooking with this, you want to add a bit more salt than necessary. As you’re tasting it, if it seems like something is missing or it seems kind of bland, try adding a bit of salt. It really opens up the other flavors. Something else I do is add sugar to round out the flavor. It shouldn’t taste sweet though, just enhance.
After broth add in about a tablespoon or so of tomato paste. This will thicken up the gravy and add a tangy flavor. Don’t add too much. Just little by little until the consistency is right. This is the consistency you need if you’re slow cooking:
If you’re planning to finish up on the stove go ahead and add the meat in and watch the consistency. The meat will release water so in the end if it’s too watery just simmer until the water cooks off.
The longer you simmer curry the better the flavors get. So if you’re using seafood that cooks pretty fast, let your curry simmer for a while before adding in fish or shrimp.
If you’re using a tough meat like lamb or goat, use a pressure cooker or slow cooker to get the meat tender. I do this with chicken sometimes, but mostly we do chicken on the stovetop.
If you want the meat to be tasty, do not cook it before you add it to the curry.
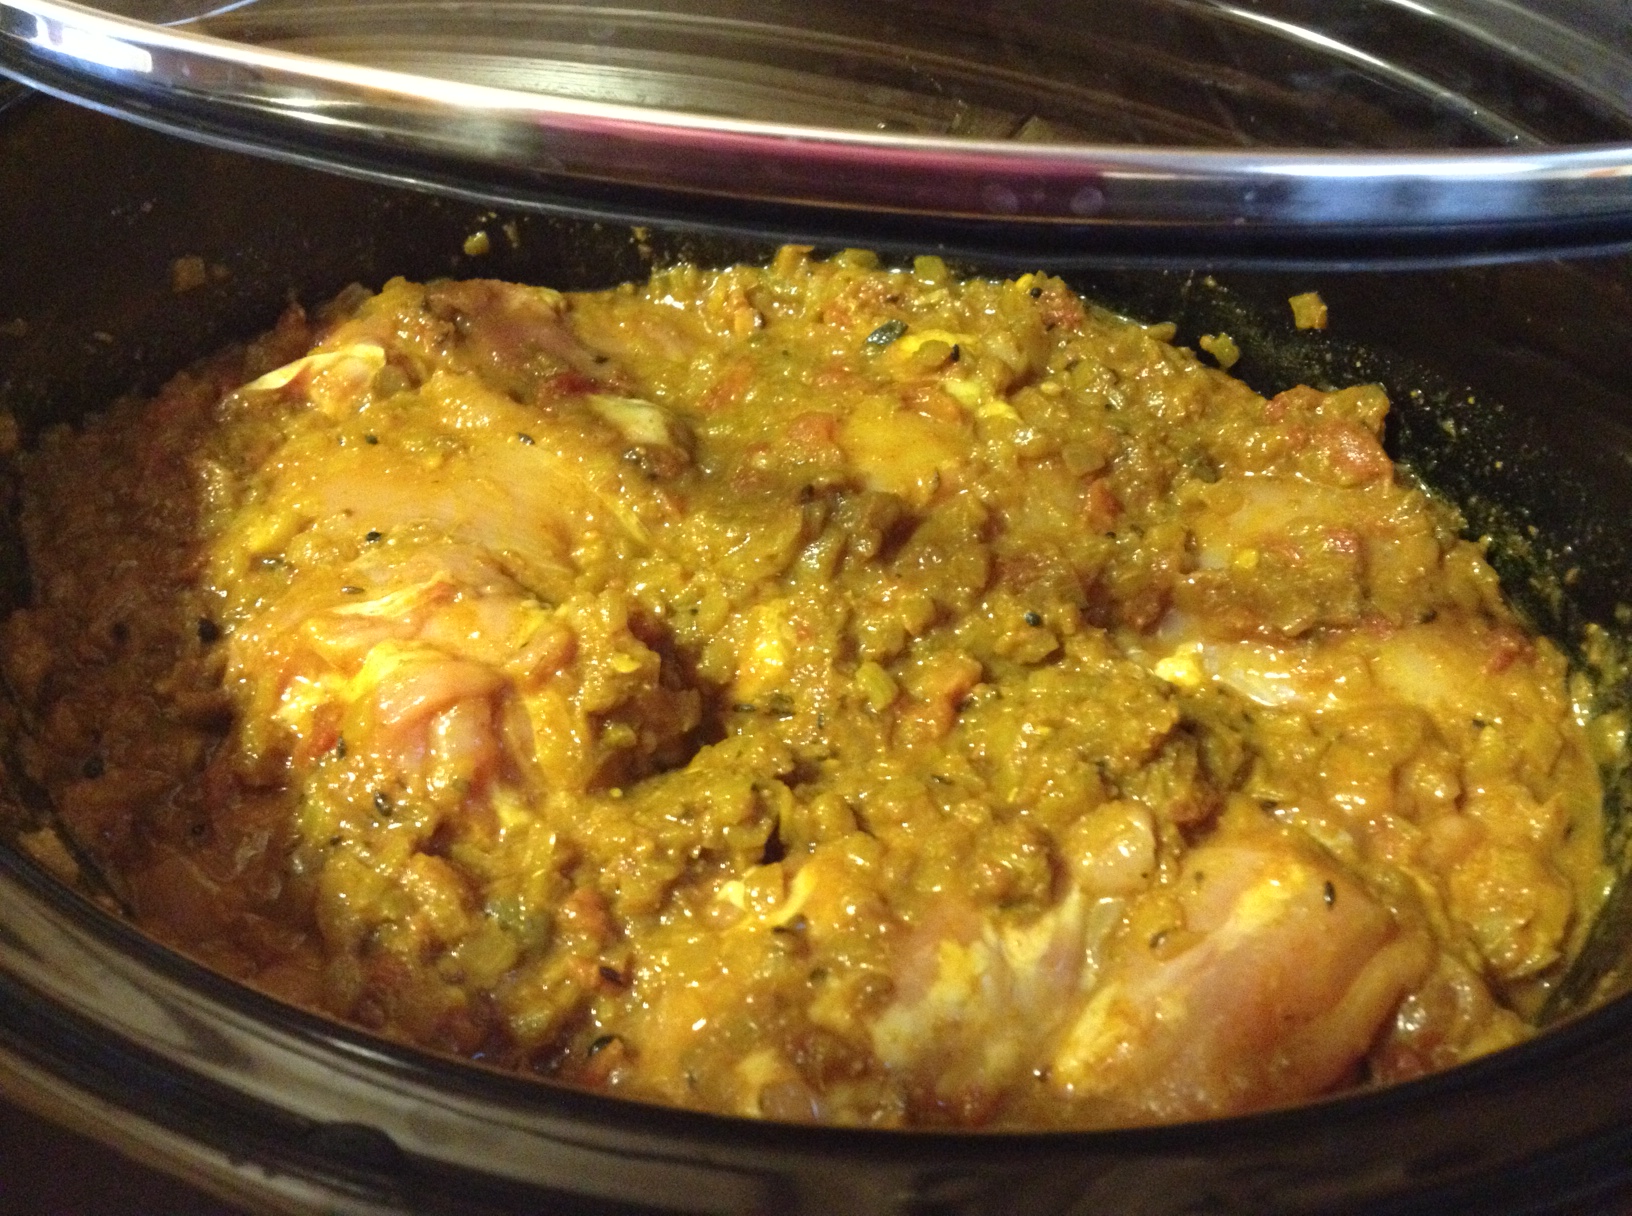
I didn’t get a picture of the end result, but I used about 3-ish pounds of boneless skinless thigh and it was AMAZING.
Like I said at the start, curry is customized for you. So you can follow my recipe and make modifications. Maybe you don’t like it too spicy, maybe you don’t like the mustardy heat. Just change up the proportions and make your own. Let me know if you have questions!


