Step 1. DON’T.
Just stop. Stop perusing the aisle of Walgreens or Sally Beauty Supply looking for your next DIY project for your hair. Don’t look at the model on the box and imagine that you’ll look great in that cherry red color they’ve photo-shopped onto her head.
I am a trained professional. I went to school specifically to learn how to use chemicals on a human. I learned about color theory, about hair structure, about what happens to hair when exposed to said chemicals. With all of this knowledge floating around in my brain (not to mention my undergraduate work that went much deeper into anatomy, physiology, and body systems) I still sometimes have to really THINK about what I need to do to turn someone’s hair color to their desired shade.
Let’s consider this scenario…
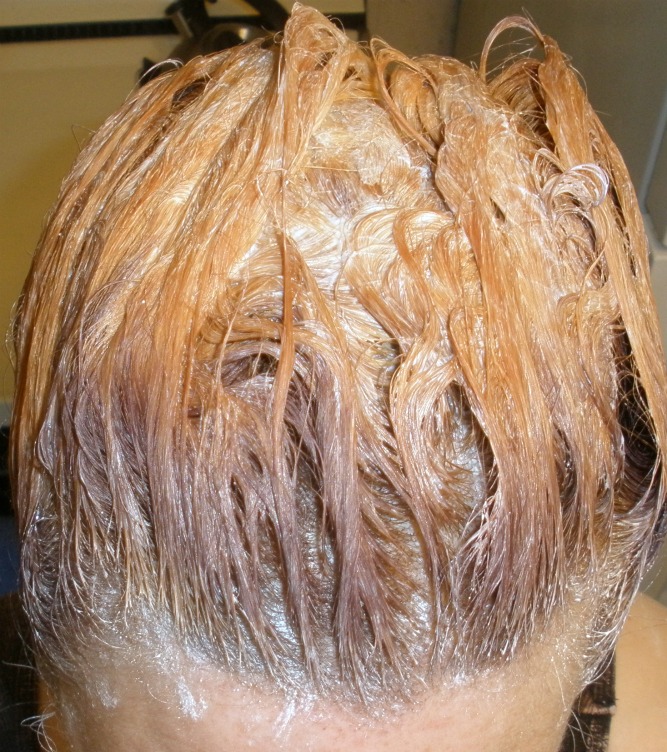
Box Color CRAP
Let’s say Sandra with bleached blonde hair goes to the drug store and runs into her friend Cassie who’s a natural dark chocolate brown. They chat about how they’re so bored with their color and head over to see what their options are. They both set their eyes on a shade of red that is sure to be a show stopper. The model on the box looks so good, and so happy. Now this color they want is several shades darker than Sandra’s bleached blonde hair, and several shades lighter than Cassie’s dark chocolate brown. They must have a different kit for Sandra and something else for Cassie, right? WRONG. That same magical box is supposed to do two completely different processes on two different people with completely different hair situations. What does that mean? It means there’s very harsh chemicals in there to make that magic happen, and what that means for your hair is that it will be damaged and resemble your dog’s chew rope after he’s been particularly stressed out.
But Shreeda! Eva Longoria, Heather Locklear, and Sarah Jessica Parker all endorse box color and look how fantastic they look!
Ok, seriously, you think these women shop at Walmart and do their own color at home over their $10,000 ivory encrusted tub molded with the tears of 1000 virgins? NO. Did you know that cosmetic advertising only requires ONE STRAND of hair to be colored with the product in order for it to be considered authentic advertisement? That’s right. So, lovely Eva Longoria, has a $500+ chemical job on her hair and that one piece on the side has the actual box color in it. But are you focusing on that one strand or are you looking at her thinking “that is a beautiful, dimensional color, I want it.”?
But Shreeda, you use such harsh chemicals in your salon, I found this box that says No Ammonia. It should be safe to use, right?
WRONG. Just because it says “no ammonia” doesn’t mean they aren’t using a harsh ammonia derivative. Don’t be fooled. The only way you can be sure to protect your hair and make sure it isn’t damaged is to have a professional color your hair. And let me be the first to tell you that professional color comes in no ammonia forms as well. So just ask for that.
Here is what goes through my mind when I have a color client…
1. What is their natural color?
2. Do they have previously colored hair, what was used?
3. What other chemicals have they done to their hair, did they have any reactions?
4. Are there different shades in the hair or does it look like an even tone? What is the undertone I see?
5. How damaged is the hair?
5. Do they have gray?
6. Is the desired color lighter or darker than what is happening right now?
7. Will I need to add back any pigment if they’re going darker? Will their hair withstand going lighter?
8. And then with those and a few lifestyle questions (not to mention a gut instinct) I come up with my formula.
Color is a process, and if you don’t know the first thing about the chemicals you’re putting in your hair, you should not be doing this at home. I almost had a heart attack when I saw the ombre kits go on sale at the drug store. Bleaching hair is a whole other animal.

I hope this clears up why it is worth every penny to get your hair colored professionally. Because a color correction is far more expensive and a very tedious process. A lot of times, it can’t be fixed in one visit and none of that is worth a $6 box of hair color.
xoxo
Shreeda


