Slow Cooker Butter Chicken – Vegetarian Substitute Tofu


If you’ve never tried Indian food, this is a good place to start.  Butter chicken is one of my favorite dishes.  It is so decadent and really very bad for you, but so so delicious.  There’s ways you can cut back on the fat and calories, but it just won’t taste as good!

My crock pot broke 😦 so I wasn’t able to make this with step by step pictures as per usual.  If you don’t have a crock pot you can make this on the stove and just simmer for a while.  The flavor really matures over time, but it will still taste good either way you do it.
This isn’t entirely from scratch, but it is the easiest way to do it at home.

Here’s what you need:

4-6 boneless chicken thighs cut into bite-sized pieces
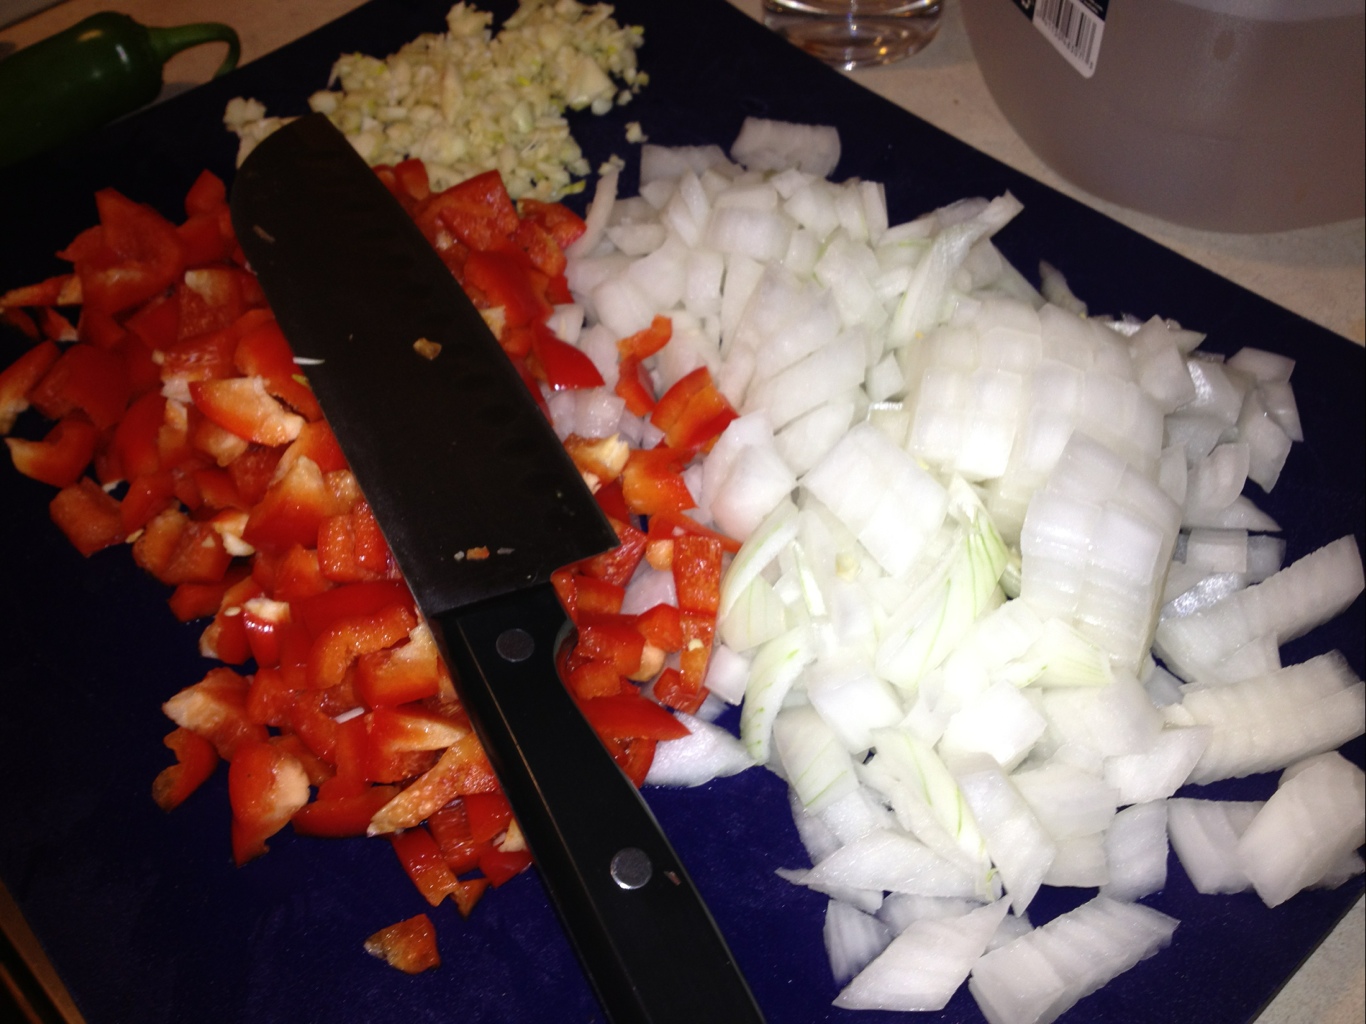
1 onion diced
3 cloves garlic minced
2 tbsp butter
2 tbsp oil

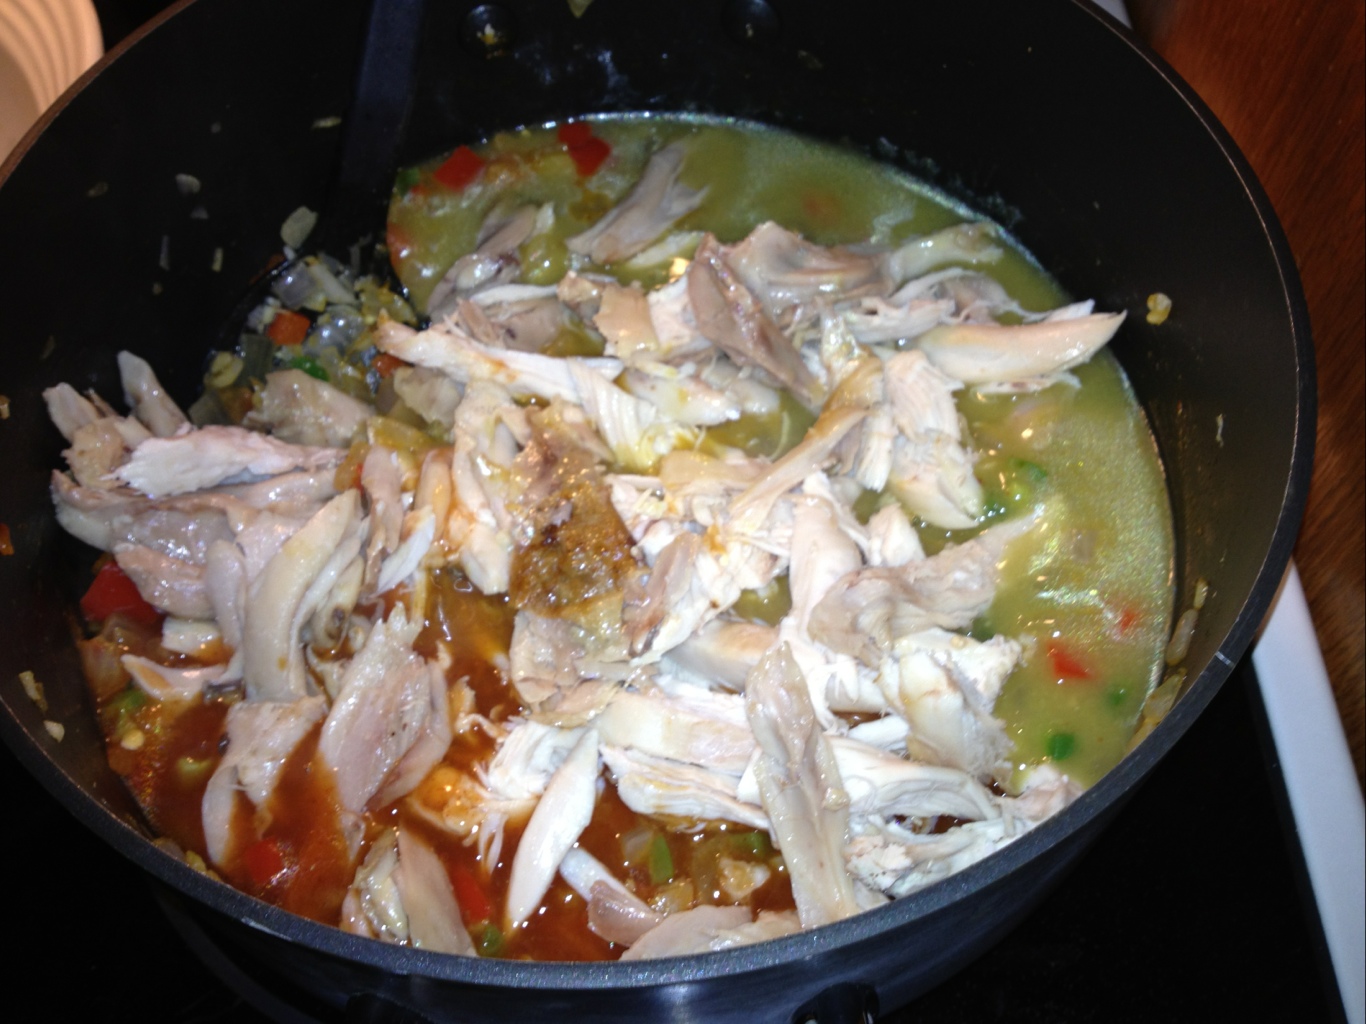
Stir fry these ingredients on medium heat until the chicken has some color and the onion is translucent. Then pour entire contents of pan into crock pot.

Then add:

15 cardamom pods (we just eat these, but if you don’t just put them in some cheesecloth)
2 tsp curry powder
1 tbsp curry paste (like Patak’s hot curry paste)
1 tsp red chili powder (optional)
2 tsp tandoori masala
1 tsp garam masala
8 oz (?) of heavy cream or milk (you can use coconut milk, but that makes it Thai!)
1 cup plain yogurt
1 5.5 fl oz can of tomato paste
Salt/Pepper to taste

Throw all of that into your crock pot and mix gently.  Set it to high for 4-6hours or medium for 6-8 hours.
Serve it with some rice or naan.  I have a good recipe for home made naan without a tandoor!  Ours tastes just like the restaurant kind!  I’ll give you that recipe soon.


A couple of notes from the chef 🙂

If you have Indian spices at home use those to customize this dish.  If you like more of certain flavors.  The ingredients I listed make this dish less complicated and more user friendly.  If you aren’t used to cooking with Indian spices, it can be intimidating until you learn them and figure out what each one adds to the dish.  You should be able to find the things I listed here in the international aisle.

Also feel free to increase the amounts of curry powder or curry paste.  2 tsp is really very little, usually I am putting spices in by the tablespoons.

Another thing that really adds to the flavor is using bone in chicken and getting it cut so that the marrow is exposed.  The marrow darkens the gravy and just adds a nice flavor to it.

For vegetarians just add in tofu where there’s chicken!  Simple!  You should probably saute the onion and garlic before you add in the tofu because tofu doesn’t take long to brown.

If you have any questions, feel free to write me.  If you end up making it please tell me about your experience!


Ugly Pie

I hope everyone had a wonderful 4th of July.  We decided to take it easy this year and just have a little meal at home.  The heat is just unbearable so going to a picnic anywhere seemed unrealistic.  Especially with the little man.  We just grilled up some brats and I made my famous watermelon salad.  We also had potato salad and a really delicious dessert.  What was for dessert you ask?!!!!

Recipe courtesy of my good friend Belkis.  (Go visit her blog: belkiscruz.wordpress.com)

I call it Ugly Pie because it’s pretty ugly when I scoop it onto my plate…but so SO good.  It’s incredibly simple, and goes down really easy.  It’s a nice light dessert for the summertime.

Here’s what you need:

1.5 Graham cracker packets

A tub of Cool whip

8 oz of softened cream cheese

2 packets instant chocolate pudding

sugar

1/2 stick of butter (melted)

Mash up the graham crackers, add sugar and melted butter and mix it all up.  To take this crust over the top add a few shakes of cinnamon.

Pat that graham cracker mix into the bottom of a 9×13 pan.  Make sure it’s packed tight.  If the graham cracker mixture isn’t sticking to itself add more butter.

Next mix together half of the cool whip and the cream cheese.  Mix until it is fluffy and lay it down on top of the crust.

Make the chocolate pudding according to the instructions on the packet.  It should be 2 cups of cold milk and mix until it sets.  Once it sets pour it over the cream cheese/cool whip layer.  Add the rest of the cool whip on top and decorate with graham crackers.  I decorated with Oreos because I didn’t want to open another pack of graham crackers.

Let it sit in the fridge to set a little and dig in!

I didn’t take a picture of it scooped out because we weren’t patient and didn’t let it sit in the fridge to harden.  It was a mess, but I don’t care, it was SO good.

Chicken Enchilada Pasta

This a fairly easy and very impressive meal. Anytime I’ve made it I’ve gotten a ton of compliments. So here’s what you need:

2 boneless skinless chicken breasts (cooked and shredded) or a rotisserie chicken
2 tablespoons olive oil
3-4 garlic cloves (minced)
1 medium onion (diced)
1 red bell pepper (diced)
1 diced green chili or a 4 oz can
½ teaspoon salt
2 teaspoons chili powder
1 teaspoon cumin
2 (10 ounce) cans green chili enchilada sauce
2/3 cups red enchilada sauce or an 8 oz can
2 cups shredded Colby-jack cheese
1 cup sour cream
1 (16 ounce) package penne pasta
Toppings Suggestions-
avocado
green onions
tomatoes
sour cream
black olives

So the first thing I do is break down the rotisserie chicken. I put it in a bowl and put it aside.

Chop up your fresh ingredients.

20120625-092609.jpg

Next heat up the olive oil and sauté the onions for about 5 minutes. Add in the garlic and bell pepper and sauté for a few more minutes.

20120625-092700.jpg

Next add in the chicken, salt, cumin, chili powder, and green chilies.

20120625-092806.jpg

Stir it all and add in the enchilada sauces. You can use 2/3 of a cup or just the small 8 oz can. It doesn’t make much of a difference and you won’t have a random 3 oz of sauce sitting in your fridge.

20120625-092934.jpg

Bring the sauce to a boil and then let it simmer for about 10 minutes. At that point add in the 2 cups of cheese and then the sour cream.

20120625-093125.jpg

Once it’s all incorporated its done. Usually when I add the sauces in I start the pasta. Everyone in my family likes different amounts of sauce on their pasta so I leave it separate but you can mix it together. We like avocado and pico on top but you can dress it anyway you want.

20120625-093417.jpg

If you don’t want to use chicken and have a vegetarian option you could easily add in vegetables at that point. Or roast some veggies and throw them in right before you add in the cheese and sour cream. That way they won’t get mushy. Let me know how your version turns out. I’m sure you’ll love this dish!!

3-2-1 cake!

I love cake but with just my husband and I to consume it, making a whole cake seems excessive. So I’ve got this great way to make a single serving of cake. It gives us the cake fix without a million calories looming before us!!

Here’s what you need:

1 box angel food cake mix
1 box any flavor cake mix
Coffee mug or bowl
Water

20120622-194815.jpg

In an airtight container mix the two boxes of mix together.

20120622-194934.jpg

Take 3 tablespoons of mix and 2 tablespoons of water in a coffee mug or bowl that you can microwave. Mix together-it will be a frothy consistency.

20120622-195057.jpg

Nuke it for 1 minute on high.

20120622-195128.jpg

You can add any toppings you want.

20120622-195154.jpg

You see where the 3-2-1 comes from? 3 tablespoons cake mix, 2 tablespoons water, 1 minute in the microwave!

I used chocolate but you can use any flavor you want. Just make sure that one box is angel food cake. It’s great to have the mix on hand because if you have someone stop over you can make them a quick impressive dessert!

I wish I had figured this out during my pregnancy. I always craved marble “birthday” cake and I could have just made it in one minute!!!

If you guys try a different flavor please tell me!! I want to try red velvet or lemon next.

Bon apetit!

Baklava Cheesecake – Say WHAT?!

I am about to blow your mind, are you ready?  This recipe is super easy and sure to please.  I have to thank my friend Norman for posting a picture of this on Facebook.  He had it at a pizza joint in Baltimore, and it got my gears going!  Baklava Cheesecake?!  Hello?!!!  Why haven’t I made this yet?  So I thought…I know how to make a good cheesecake, and I know how to make a good baklava…BRING IT!  I didn’t have everything in my pantry, so I modified the baklava part, but if you’re lucky I’ll give you my baklava recipe sometime.

I encourage you to tweak the recipe if you want.  I tried to give you measurements this time, but I really eye balled everything and I’m not too sure how much.  I just kind of think…yea I love to taste cinnamon in the crust, let’s add a little more!  I go a lot off what it smells like once I mix it, or I try some.

Another thing I changed is the cheesecake part – I just halved the recipe that I normally use.  I didn’t want to make such a thick cheesecake.  You could do either!

Here is what you will need:

Crust:
graham crackers, finely crumbled

2-3 tablespoons sugar

1 tsp cinnamon

Few Tablespoons butter, softened

Filling:
4 8-ounce packages cream cheese, softened

1 cup sugar

1/4 cup fresh lemon juice

1 teaspoon vanilla

4 eggs

Baklava:
1 cup walnuts, chopped

1/4 cup sugar

1/2 cup butter, melted

1/2 teaspoon cinnamon

Fillo:
15 sheets Athens 9 x 14 Fillo Dough, thawed

1/2 cup butter, melted

Syrup:
1/2 cup light corn syrup, heated

Preheat your oven to 325.

First you want to take your graham crackers and mash them up, mix in the sugar, cinnamon, and butter.

Then take a fork or your fingers and press the  crumbs on the bottom and up the sides of 9″ springform pan.  Bake it for about 8 minutes so that it sets.

To prepare the cheesecake, beat cream cheese and sugar until fluffy. Add lemon juice, vanilla and eggs, one at a time. Beat until smooth. Pour into springform pan over your crust.

To prepare baklava, combine walnuts, sugar, butter and cinnamon in bowl.

So for the fun part!  You could cut the pastry so that it fits exactly over your baking pan perfectly or your could just fold it and make it fit as a rectangle.  I chose the latter because it’s easier and creates no waste!

Take your fillo sheets and you can do this one at a time or you can take like 5 at a time.  Lay it on the cheesecake filling and brush it with butter.

Once you have a few down spread the walnut mixture over the top.

Keep doing that for as long as you like.  I did about three layers.  This doesn’t have to be exact or beautiful.  Just slap it down, really.  When you do the final layer of fillo, make sure you score the slices, this will make it much easier to cut once it’s baked.  To make it look pretty just ruffle up the top sheet, it will fold a little during baking so just leave it messy, it’ll look good, don’t worry.  Now brush an ample amount of butter over the top of it.

Also notice how I lined the bottom of my springform with foil.  That’s because I always put water in the cookie sheet to create moisture in the oven so the top of the cheesecake doesn’t crack and dry out.  I don’t want the water to seep into the pan for any reason so I just protect it this way.

See water!

Now bake it for an hour and a half or longer, just make sure the top is golden brown.  It took mine about an hour and 50 minutes.  Just start looking at it after an hour and keep an eye on it.  Every oven is different!

Slowly spoon warm syrup over that bad boy and cool to room temperature. Refrigerate until chilled before slicing.

I skipped the syrup this time, and we ate it at room temperature.  Oh well.  Maybe after it’s chilled in the fridge I’ll pour some syrup over the top.

YUM!!  If you tweak the recipe please tell me what you did and how it turned out!  Enjoy!