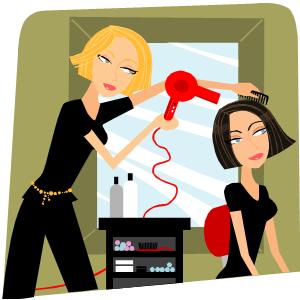
I’ve been doing bridal styling for a while, and one of the things I often encounter is brides that don’t take full advantage of their time with the stylist. I also come across brides who completely waste their trial time and end up frustrated and confused. I wanted to share some things that I think might help utilize that time better for both the bride and the stylist. This is from a stylists perspective, feel free to comment below if you have any additional pointers.
Weddings are emotionally charged, and huge important events. I can tell you, I never want to be the one to make it harder on the bride. I do my best to get the look she wants and help her find her vision, but there’s some things I wish every bride would know. I compiled a list that I thought would be helpful. With so many details to focus on during wedding planning, the last thing you want is to have a stressful time dealing with hair and makeup.
A trial is not a consultation. – To get the most out of your trial, get your ducks in a row. Usually trials are scheduled for a couple of hours at most. My trials have a two hour max. In that time I want to talk about details of the wedding, hear what the bride’s vision is, and then make it happen. If the bride isn’t really sure of what she wants and spends 3o minutes of that time just trying to decide what eye-shadow colors she might want or whether or not to have her hair up, she has just wasted valuable time. Now I’m rushing and can’t really promise it’ll be perfect. It’s best to nail down a few details before you come in. The style of your wedding and dress, the colors of the wedding, what the party members will be wearing, dramatic or no, up or down or half up.. If you’re at the point where you’re not sure and need guidance, schedule a consultation with your stylist. I’m always happy to give my input and offer advice based on my experience. I hope I’m being clear about this one. It’s not that the stylist doesn’t care or doesn’t want to spend that time helping you decide, it’s just best to break it up into a couple of visits.
Bring pictures. – Pictures are a language we all speak. Artists are usually pretty good at mimicking pictures. Recently I had a client come in asking for a red. I showed her a picture of ‘true red’. She said it was orange. I showed her a picture of ‘red-violet’ and she said it was brown. My point is, words cannot be trusted. If we both look at the same picture, I might call it blue and you might call it yellow, but whatever we call it doesn’t matter. I know that at the end of the service I want to give my client what’s in the picture. So if you can find something that shows the colors you want, the type of curl, how dramatic of a look you want, etc. And if it’s in 10 different pictures, bring them all and describe the parts of the picture you like. Now that we have Pinterest and Facebook it’s much easier to share and show ideas.
Let the artist work. – Imagine going to an artists’s studio and stopping the artist to tell them how to paint a painting. More often then not I’ll have a client come in and ask for a mirror and watch my every move. What ends up happening is they stop me every so often to direct me. ‘Are you going to blend this?’ ‘It doesn’t really look like the picture.’ ‘That’s too much teasing.’ Here’s the thing. Every stylist has their own technique. But you have to let them get through their work uninterrupted. The times that I’ve followed direction like this, it’s been a total disaster, because I have my own rhythm and method and the interference really throws me off. The stylist should know what you want because you’ve shown them pictures and told them what you want or don’t want. Don’t worry about how the stylist is getting you there, relax, let them work, and judge the end result.
Be completely honest. – If you don’t like something, say it. Not every artist is that objective, but they should be. I usually tell my clients ‘you won’t hurt my feelings, please be honest with me. If you don’t like something it will hurt me that you just sat with it. I want to make you happy.’ I mean every word of it. It’s not something to take personal. When I’m hired as a stylist, it is my priority to give my client what they had dreamed about. That requires honesty. We’re a team. We have to work together to reach our goal.

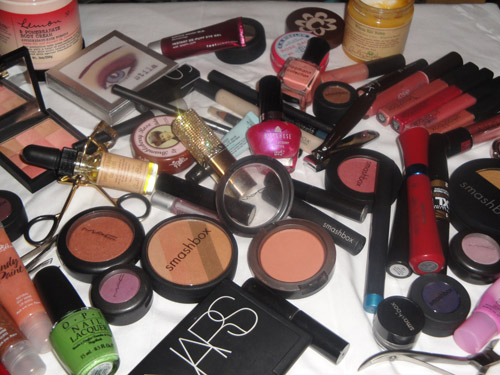
Bring your makeup bag. – This is so helpful! A makeup bag speaks volumes about a person’s style. I can tell by the shades in there, the types of makeup, etc what kind of style this client is used to. It’s also nice to have lipstick colors to compare. Most of the time I have a client pick out a color from MAC and if I don’t already have it, I go pick it up. I’d say the most requested look is ‘I want to look like me, but better.’ Seeing what’s in that makeup bag sometimes gives me an idea of what that means to you.
Trust the stylist. – Give the artist your vision and let them run with it. Some might go off the deep end and have you looking way crazy, but most will give you pretty close to what you imagined if you just let them. If at the trial you can’t trust this artist, walk away. This is the foundation of the relationship you guys are building. That sounds dramatic but it’s true. During a trial, I’m tuning into my client and feeling how we vibe together. There are times when I just feel completely off and I let my client know that something is off.. Pay attention to those feelings. This is the last person that puts your look together before you walk down the aisle. That’s a huge responsibility. I don’t take that lightly, neither should you.
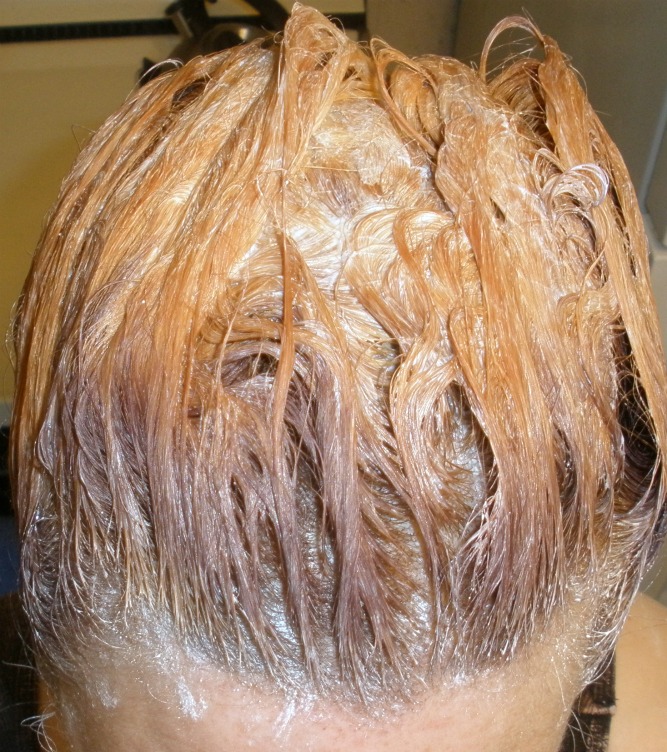
Be realistic. – This is a big one. Know your hair and skin and what they can do. If you have four hairs on your head, I’ll be sure to make those four hairs look stunning. But if you bring me a picture of Kim Kardashian and ask me to do that, that’s magic, and I’m not a magician! So it doesn’t make these things impossible, but if your artist suggests treatments, highlights, extensions, or some other enhancement, give it some serious consideration. Some dimension in the hair, extra volume from extensions, or some deep conditioning can make your hair look amazing. Of course these things cost money, so really think about how important it is to you to get the look you wanted. If you’re willing to change your mind, let your stylist know and they will give you options that are suited for your skin, hair type, face shape.
Dress appropriately. – If you have your dress picked out, wear a top in the same color. If not, dress up. I can’t tell you how many times I’ve had a bride come to me in sweats or yoga pants and then tell me constantly that the look is just too much. Of course it will look like too much if you’re dressed like you’re going to the gym. The dress and jewelry really pull things together. It will all look great together, but it’s hard to imagine when you’re ready for savasana. So dress like you’re going somewhere, or try to schedule your trial on the day of your bridal shower/bachelorette party.
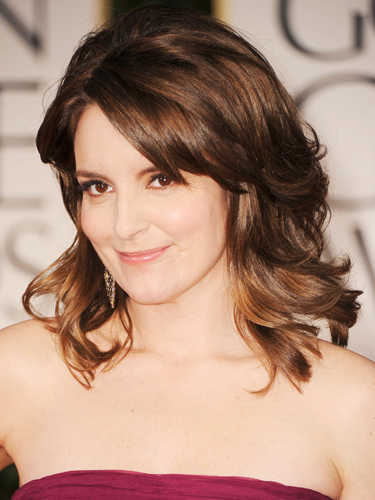
NEVER skip a trial. – A trial is important for both parties. It will put you at ease about your stylist. You can have confidence you’ll look just the way you dreamed. It’s also great for the stylist, because they’ll have a chance to touch and experience your hair. One time I had a bridal client that wanted a particular look, and after many attempts during her trial, I couldn’t make her hair do what she wanted. No amount of product was making it happen. It was down to her butt with no layers, hair that heavy sometimes just won’t hold a curl. She didn’t want to cut her hair. Luckily she was understanding because she’s not been able to curl her hair her whole life. We opted for a more sleek look and she was happy! Had we not done that trial and went through that together, I would have been fussing with her hair the day of her wedding and she would have been completely stressed out.
Questions to ask your stylist. –
There’s so many details, that a lot of the smaller details are sometimes forgotten. Here’s some questions and what they might reveal to you.
1. How long have you been doing this? This question is a common one I get, but I think most of the time it’s asked from the wrong perspective. Most brides want to know how long I’ve been doing this to see if I will be any good. I have seen crap work from artists that have been doing this for 20 years and I’ve seen phenomenal work from artists who are still in school. Of course artistic skill is honed over time, but time in the industry certainly doesn’t determine how great the work will be. The answer to this question should tell you about their experience. I’ve been doing this over a decade, and in that time I’ve learned about common mishaps, things that tie up time, how to set up and break down, etc. Those pesky details that can make or break the service. So when you ask this question, what you should be searching for is how much experience they have and gauge for yourself if the artist will be adept at trouble shooting if the seating or arrangement is bad or if the lighting is terrible. You could lightly ask if they’ve ever had a crazy bride or what’s the most extreme circumstance they’ve had. The way they answer should tell you a lot about them and how much experience they truly have.
2. What products do you use? This again is an iffy question. Some of the more professional brands that are really good, the general public has never heard of. If you’re going to ask this, and you hear some brand you don’t know, follow up with: How does it compare to xyz brand? I use a lot of well known brands in my kit, so I never really run into this issue, but every now and then I get someone who is a die-hard fan of MAC makeup. Although, I use a lot of MAC products, I don’t think it’s the best in every aspect. The eyeshadows aren’t consistent in texture, the foundations are different consistencies depending on the shade, etc. So when I’m asked what products I use, I always explain what I love about what I use. Another great follow up would be ‘Oh I’ve never heard of that one, what do you love about it?’
3. Do you offer a touch up kit? For a price, your artist should be able to provide you with a touch up kit or at least lip gloss for the event. I extend my discount to my brides and offer to put together a kit so that they can touch up their look. No matter how hard we all try, lipstick just won’t last through eating, drinking, etc. Depending on the airbrush makeup, it can’t be touched up with regular powder. So some blotting sheets, lipgloss, or some setting powder would be good to ask for.
4. Do you have a portfolio? It’s great to check out the stylists previous work. It will give you an idea of their style. Be logical about it though. Not too long ago, I did an updo on a bride and posted the picture on my website. Every single bride after that asked me to do the exact same updo on them. I did, but now it seems like that’s the only updo I know how to do. So feel out on your own if they seem creative, and look at the pictures to see if they’ve paid attention to detail, if the styling is smooth, seamless, flawless, etc. Keep in mind, many brides opt out of sharing pictures with the artist. It may seem like they haven’t done a ton of work, but that might not be the truth. Just ask them about it. For every one bride that shares pictures with me, I’ve got about three that don’t.
On that note, share pictures with your artist and leave them a review! That’s how they drive their business. Reviews from former brides are trusted by current brides. I have about 15 brides so far that haven’t left me reviews, and I think about it all the time. I can’t lie. It would really help my business if they would just leave the review! It only takes a few minutes, and you’d really be helping them out, so if you’re happy with the work, leave them a stellar review, and if you aren’t happy, contact them first to see if they will do something about it, if not or they don’t care, leave the bad review.
Former brides of mine, if you’re reading this and you haven’t left your review yet, please go leave that amazing review on The Knot! I could really use the stars!!
Pricing
Something else a lot of people wonder about is the pricing. What’s normal? What’s too much? Honestly, there’s no right or wrong price. Everyone has their value. For me personally, I take into account my product, gas/mileage, paying out my assistants, my experience, and anything extra that I bring to the table. Many people don’t account for the cost of a hair and makeup person. Generally, I’d say a normal range for hair and makeup is anywhere from $250-$350 for the bride. That should include a trial and lashes. There might be an upcharge for airbrush, or it might be included. For bridal party members, you can expect to pay around $120-150 for hair and makeup. Anything more than that and you’ll want to see if they are high end, have a celebrity artist, have a stellar reputation, or if they include extras. Anything less than that, and you’ll want to wonder why they’re able to charge so little. I can’t say in all cases, but generally speaking you’ll get your money’s worth. If you do not, and you’ve had a bad experience, contact the artist and let them know you are unhappy. If they have any integrity they should offer to correct the wrong. Whether it be offering you a free service or your money back. Reputation is everything in this industry, so if the artist knows what’s good for everyone, they will do their best to make you happy. Avoid bullying the artist or issuing threats, they probably won’t respond well to it, and you’ll just end up more frustrated and still with no closure. Calmly explain to them your issue and what you would like done about it.
I’d love to hear about your trial experiences. What was good, what was bad? What do you wish stylists would offer or do?
xoxo,
Shreeda